
Technical Library
User manuals, installation guides and technical documentation for Avee products.
Avee Kit Documentation
Illustrated, printable guides for installing and using your Avee Kit.
01 — Getting Started with Your Avee Kit
Getting Started with Your Avee Kit
Quick instructions for connecting your headset and aircraft adapters.
1. General information
The Avee Ultimate consists of three parts:
- The headset adapter, which plugs into your headset.
- The Dual GA or XLR-5 aircraft adapter, which plugs into the aircraft.
- The aircraft interface cable, which connects the headset adapter to the aircraft adapter.
The headset adapter is designed for one specific Bose® or Sony® headset model and will typically not fit a headset for which it was not intended.
2. Headset volume & microphone output level
Set the initial headset volume using the adjustment wheel on the Avee aircraft adapter. During flight, adjust volume using the aircraft audio panel.
If your headset (such as the Bose® QC45 / SE / SC / 700) has a built-in volume adjustment, set it to maximum.
The microphone output level can be carefully adjusted on the Dual GA, XLR-5 or U-174/U aircraft adapter. It has been preset to a suitable level. Setting microphone gain too high may cause the microphone to pick up cockpit noise.
3. Connecting the system
Connect the aircraft interface cable between the headset adapter and the aircraft adapter. Both ends of the cable have the same connector.
At the headset adapter, the connector may be inserted in either orientation, according to your preference. At the Dual GA or XLR-5 adapter, the connector fits in only one orientation.
4. The Dual GA & XLR-5 adapters
The Dual GA and XLR-5 adapters have a red and green LED indicator when connected to the aircraft. A red indication means that something is not connected. On the Dual GA adapter, stereo audio may be selected if the aircraft supports it. Microphone gain is adjusted on the rear of the adapter.


02 — How to prepare your headset for the Avee aviation microphone
How to prepare your headset for the Avee aviation microphone
Installing the magnetic strip — three easy steps.
The Avee headphone adapter connects directly to the headset’s USB-C port, so no magnetic strip or additional preparation is needed. You can skip this guide and continue to 03 — The Avee Ultimate Microphone.
Installing the magnetic strip
The Avee microphone uses an adhesive magnetic strip to attach securely to compatible Bose® or Sony® headphones. This makes it easy to attach, detach and reposition the Avee microphone while keeping it securely in place when connected.

Watch the installation video
Scan the QR code or watch the magnetic-strip installation video. You can also follow the steps below.
Step 1: Prepare the headset
Clean the base of the left earcup and the area surrounding the input jack using the supplied cleaning wipe. This helps the adhesive magnetic strip bond securely to the headset.

Step 2: Prepare the magnetic strip
Leave the magnetic strip attached to the Avee microphone adapter. Remove the adhesive protective backing from the strip, keeping the strip on the Avee adapter.
The adhesive side should face the headphone. The Avee adapter acts as a positioning guide.

Step 3: Attach the magnetic strip
Guide the Avee adapter into position at the base of the left earcup and press it firmly in place for at least 30 seconds.
Carefully unplug and remove the Avee adapter, leaving the adhesive magnetic strip on the headphone. Press along the strip to ensure that all edges are firmly attached.
All done! You can now attach and detach the Avee microphone as needed.

03 — The Avee Ultimate Microphone
The Avee Ultimate Microphone
Microphone orientation, positioning and detachable boom.
1. The microphone element
The Avee microphone element is noise-cancelling. It picks up sound from both the side facing your lips and the reverse side. In principle, sound and noise captured from the reverse side are subtracted from the signal on the lip-facing side, helping reduce background noise.
The resulting audio signal is amplified and sent to the aircraft radio and intercom systems. Correct microphone positioning is therefore very important for clear communication.
2. The detachable microphone boom
The microphone boom is detachable. If you remove it, make sure it is reinstalled correctly.
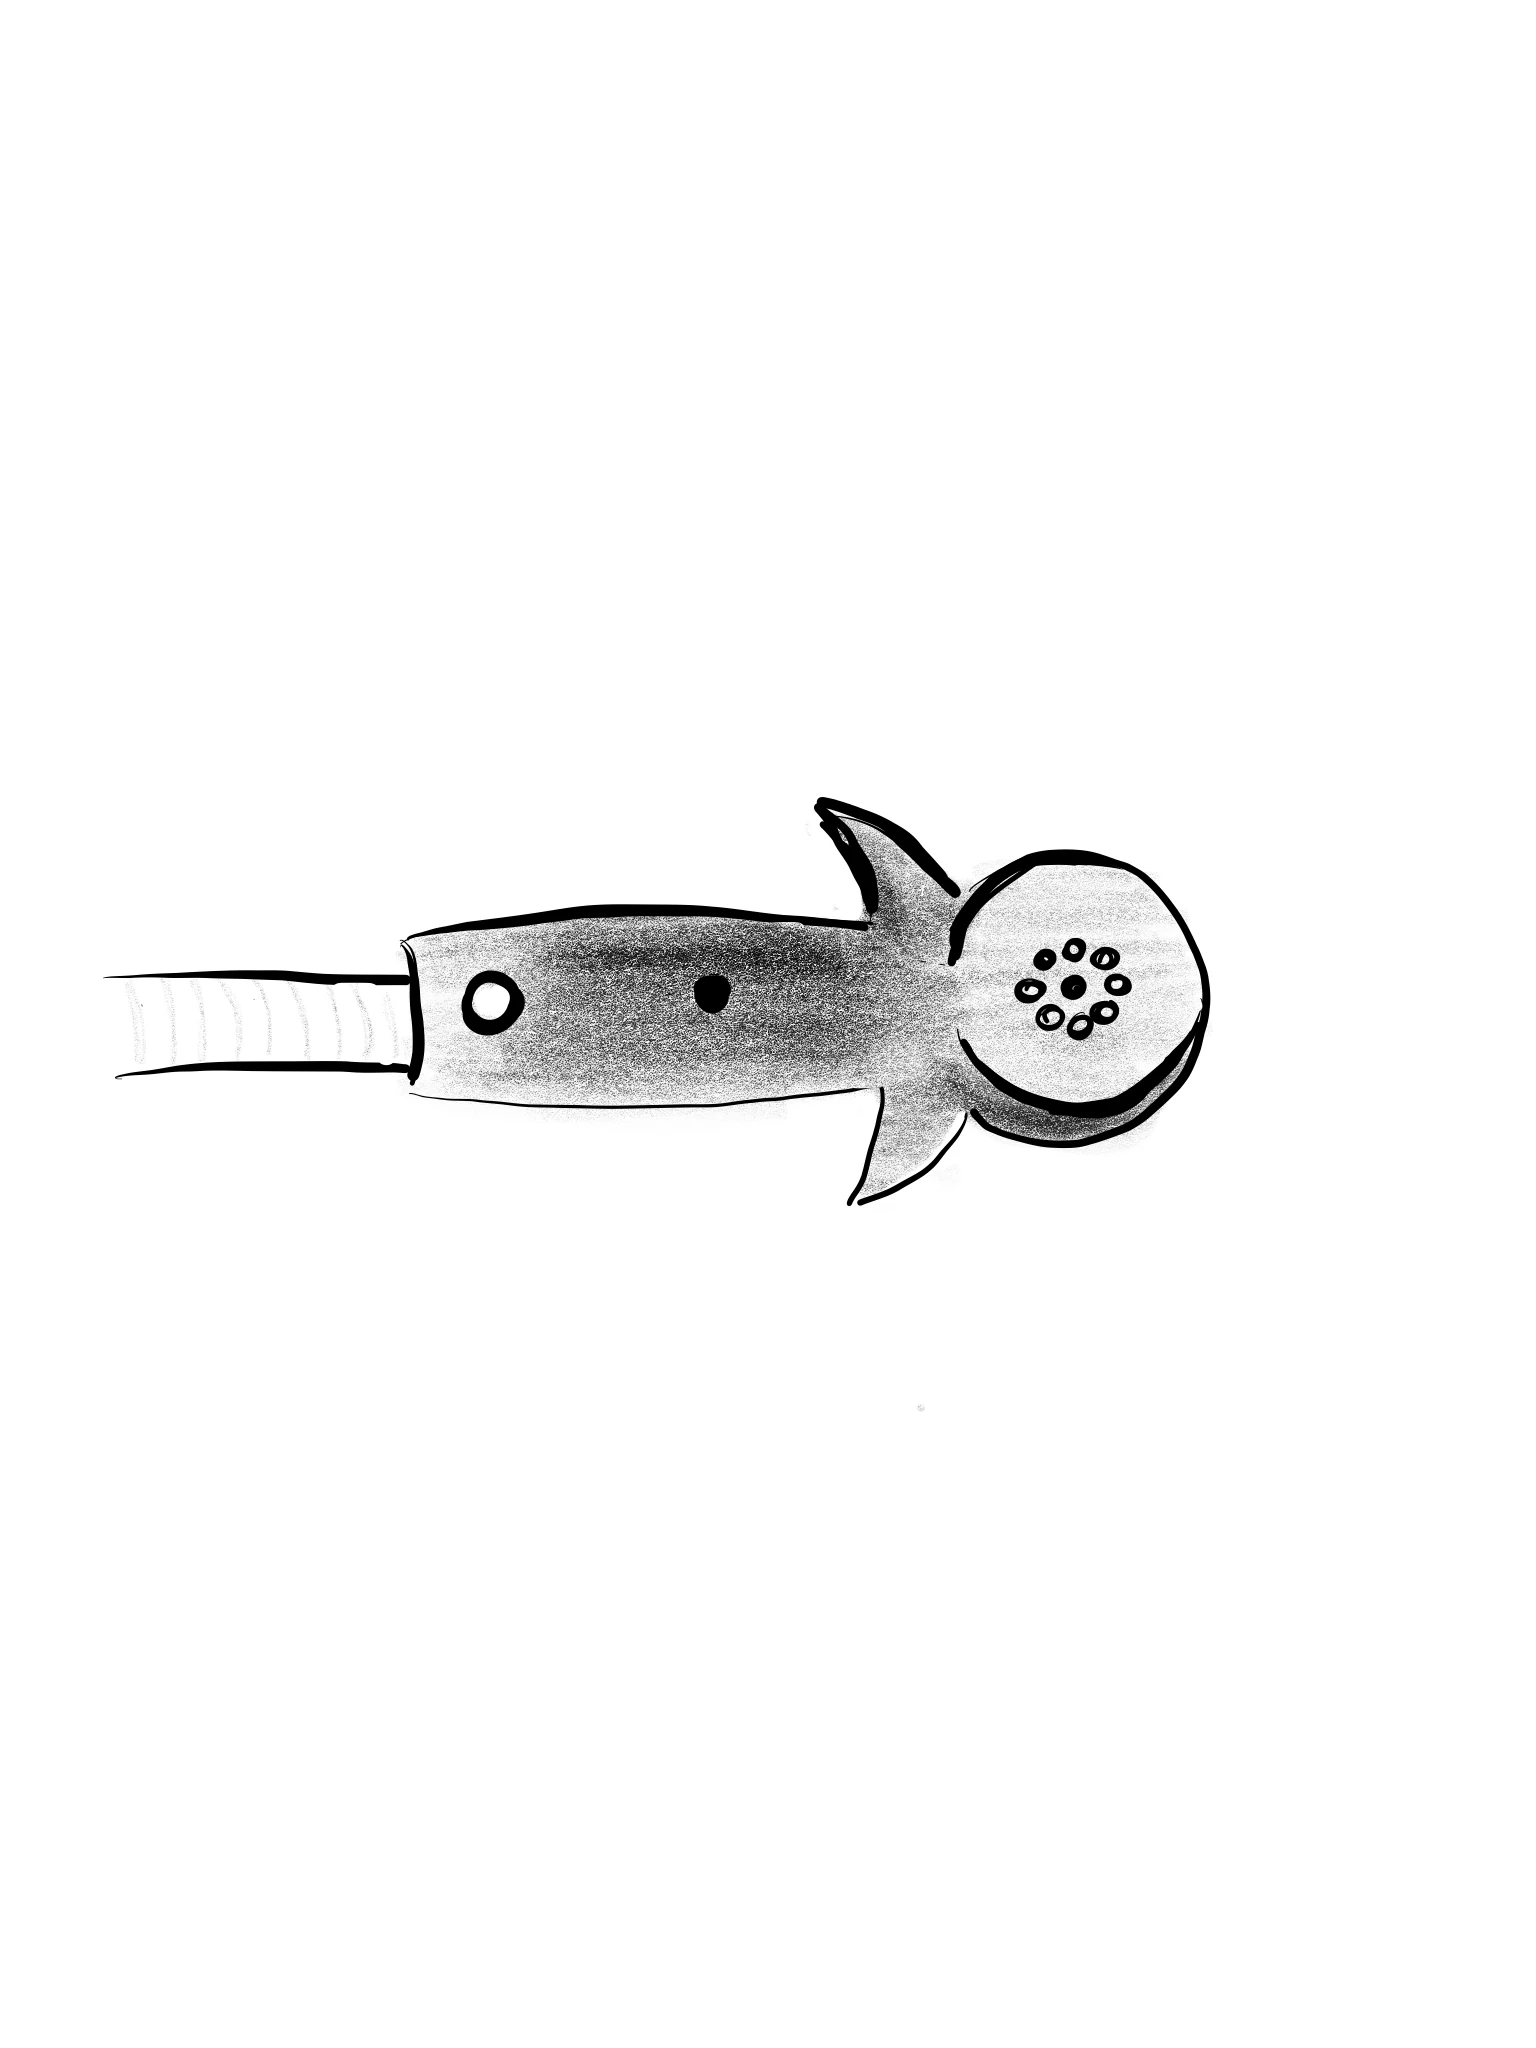
Always use the microphone with its foam windscreen fitted. The flat side of the microphone element must face your lips. You can identify the flat surface by gently feeling the element with your fingers. The microphone is designed so that this flat side naturally faces your mouth when the boom is correctly installed.

3. Correct microphone position
Position the microphone as close to your lips as possible, with its flat side facing your mouth.
The flexible boom makes it easy to position the microphone correctly and move it aside when eating or drinking.
And yes, the rather fashionable (but affordable) glasses in this illustration are optional!

4. Incorrect microphone position
In this example, the microphone is too far from the mouth. Your voice may not be picked up clearly, reducing audio quality.
Move the flexible boom closer to your lips as shown in the correct-position illustration.

Headphone Model Setup Guides
Every headphone model has its own characteristics, features and settings. To ensure the best possible performance with your Avee Kit, it's important to configure your headphones correctly. Our model-specific guides will help you find the recommended settings for your particular headphone model.
Bose® QC25 — quick setup guide
- Check the magnetic strip. Make sure the magnetic strip is installed correctly and securely attached to the headphones.
- Attach the headset adapter. Align it with the headphone connector, insert fully and check that the adapter sits securely.
- Switch on the headset’s ANR. Use the mechanical switch on the right earcup to activate Active Noise Reduction (ANR). Tip: Always keep a spare AAA battery in your headset case!
- Headset volume control. The QC25 has no separate volume control on the headphones themselves, making it particularly simple to use with your Avee Kit.
- Set the Avee Aircraft Adapter volume to approximately 70% initially.
- Adjust the listening volume using the aircraft’s avionics volume controls.
- Operation with a flat battery. The QC25 will continue to provide audio even when its AAA battery is depleted. However, Active Noise Reduction (ANR) will no longer function.
- Checking the battery level. The QC25 does not provide a battery level announcement. Keep a spare AAA battery available.
- Perform a function check. Before flight, while the aircraft is stationary, verify audio in both ears, intercom reception and microphone operation.
Bose® QC35 — quick setup guide
- Check the magnetic strip. Make sure the magnetic strip is installed correctly and securely attached to the headphones.
- Attach the headset adapter. Align it with the headphone connector, insert fully and check that the adapter sits securely.
- Switch on the headset’s ANR. Use the power switch on the right earcup to activate Active Noise Reduction (ANR).
- Headset volume control. The QC35 has built-in volume controls, but these only work in Bluetooth mode. When the Avee headset adapter is connected, the headphone volume is automatically set to maximum. No additional volume adjustment on the headphones is necessary.
- Set the Avee Aircraft Adapter volume to approximately 70% initially.
- Adjust the listening volume using the aircraft’s avionics volume controls.
- Operation with a flat battery. The QC35 will continue to provide audio even when its internal battery is depleted. However, Active Noise Reduction (ANR) will no longer function.
- Checking the battery level. To hear the battery level announcement, disconnect the Avee headset adapter and switch the QC35 off and then on again.
- Charging during flight. The QC35 can be charged while connected to the Avee Kit, but Active Noise Reduction (ANR) will be disabled during charging.
- Perform a function check. Before flight, while the aircraft is stationary, verify audio in both ears, intercom reception and microphone operation.
Bose® QC45 / QuietComfort / SE / SC — quick setup guide
- Check the magnetic strip. Make sure the magnetic strip is installed correctly and securely attached to the headphones.
- Attach the headset adapter while the headphones are switched off. Align it with the headphone connector, insert fully and check that the adapter sits securely.
- Switch on the headset’s ANR. Use the Power/Bluetooth switch on the right earcup to turn on the headphones and activate Active Noise Reduction (ANR).
- Set the headphone volume to maximum. Use the volume controls on the headphones to increase the volume to its maximum setting. This is essential for proper operation with your Avee Kit.
Important: Always connect the Avee headset adapter while the QC45 is switched off. If the adapter is connected while the headphones are already on, the internal volume will automatically drop to its minimum setting.
The QC45’s internal volume must always be set to maximum when used with Avee. Otherwise, your own voice may sound hollow or metallic, as if you were speaking inside a metal can.
- Set the Avee Aircraft Adapter volume to approximately 70% initially.
- Adjust the listening volume using the aircraft’s avionics volume controls.
- Operation with a flat battery. The QC45 will continue to provide audio through its wired connection when the internal battery is depleted. However, Active Noise Reduction (ANR) will no longer function.
- Checking the battery level. To hear the battery level announcement, disconnect the Avee headset adapter and switch the headphones off and on again.
- Charging during flight. The QC45 cannot be used while charging. Make sure the headphones are sufficiently charged before your flight.
- Perform a function check. Before flight, while the aircraft is stationary, verify audio in both ears, intercom reception and microphone operation.
Bose® 700 — quick setup guide
- Check the magnetic strip. Make sure the magnetic strip is installed correctly and securely attached to the headphones.
- Attach the headset adapter while the headphones are switched off. Align it with the headphone connector, insert fully and check that the adapter sits securely.
- Switch on the headset’s ANR. Use the power controls on the headphones to turn on the headphones and activate Active Noise Reduction (ANR).
- Set the headphone volume to maximum. Use the touch-sensitive volume controls on the right earcup to increase the volume to its maximum setting. This is essential for proper operation with your Avee Kit.
Important: Always connect the Avee headset adapter while the Bose 700 is switched off. If the adapter is connected while the headphones are already on, the internal volume will automatically drop to its minimum setting.
The Bose 700’s internal volume must always be set to maximum when used with Avee. Otherwise, your own voice may sound hollow or metallic, as if you were speaking inside a metal can.
- Set the Avee Aircraft Adapter volume to approximately 70% initially.
- Adjust the listening volume using the aircraft’s avionics volume controls.
- Operation with a flat battery. The Bose 700 will continue to provide audio through its wired connection when the internal battery is depleted. However, Active Noise Reduction (ANR) will no longer function.
- Checking the battery level. To hear the battery level announcement, disconnect the Avee headset adapter and switch the headphones off and on again.
- Charging during flight. The Bose 700 cannot be used while charging. Make sure the headphones are sufficiently charged before your flight.
- Perform a function check. Before flight, while the aircraft is stationary, verify audio in both ears, intercom reception and microphone operation.
Bose® QuietComfort 2nd Generation — quick setup guide
Important – Microphone on the right side. Unlike other Bose headphone models supported by Avee, the QuietComfort 2nd Generation has its Avee microphone boom on the right side. This is intentional and part of the adapter’s design.
- Charge your headphones before flight. Make sure your QuietComfort 2nd Generation headphones are fully charged before departure.
- No magnetic strip required. The Avee headset adapter connects directly to the headphone’s USB-C port. No magnetic strip or additional preparation is necessary.
- Switch off the headphones. Make sure the headphones are completely switched off before connecting the Avee headset adapter.
- Attach the headset adapter. Align it with the USB-C connector, insert fully and check that the adapter sits securely.
- Switch on the headset’s ANR. Turn on the headphones using the Power/Bluetooth controls to activate Active Noise Reduction (ANR).
- Set the headphone volume to maximum. Use the volume controls on the headphones to increase the volume to its maximum setting. This is essential for proper operation with your Avee Kit.
Important: Always connect the Avee headset adapter while the QuietComfort 2nd Generation is switched off. If the adapter is connected while the headphones are already on, the internal volume will automatically drop to its minimum setting.
The internal volume must always be set to maximum when using Avee. Otherwise, your own voice may sound hollow or metallic, as if you were speaking inside a metal can.
- Select Quiet Mode. Press the mode button on the left earcup to select Quiet Mode for maximum Active Noise Reduction (ANR).
- Set the Avee Aircraft Adapter volume to approximately 70% initially.
- Adjust the listening volume using the aircraft’s avionics volume controls.
- Operation with a flat battery. The QuietComfort 2nd Generation will not operate with a depleted battery. Make sure your headphones are sufficiently charged before flight.
- Checking the battery level and low-battery warnings. You can check the remaining battery level using the Bose app on your smartphone.
- White status light: Medium to full battery level.
- Amber status light: Low battery level.
- Audible warning tone: The headphones play a warning tone when the battery level becomes low.
Important: Both the status light and the audible low-battery warning work when the Avee headset adapter is connected.
- Charging during flight. The QuietComfort 2nd Generation cannot be charged while operating with the Avee system.
- Perform a function check. Before flight, while the aircraft is stationary, verify audio in both ears, intercom reception and microphone operation.
Sony® WH-1000XM3 — quick setup guide
- Check the magnetic strip. Make sure the magnetic strip is installed correctly and securely attached to the headphones.
- Switch on the headphones. Press and hold the power button on the left earcup for approximately 2–3 seconds to switch on the headphones and activate Active Noise Reduction (ANR).
Note: The headphones can also be switched on after the Avee headset adapter has been connected. The blue Bluetooth indicator light turns off when the Avee adapter is connected.
- Attach the headset adapter. Align it with the headphone connector, insert fully and check that the adapter sits securely.
- Headset volume control. When the Avee headset adapter is connected, the headphone volume is automatically set to maximum, and the touch-sensitive volume controls on the right earcup are disabled. No additional volume adjustment on the headphones is necessary.
- Select Noise Cancelling mode. Press the NC/AMB button on the left earcup to switch between Noise Cancelling and Ambient Sound modes. Make sure Noise Cancelling is selected.
- Disable Speak-to-Chat. Turn off Speak-to-Chat in the Sony Sound Connect app before flight. This prevents the headphones from automatically changing audio playback when you speak.
- Set the Avee Aircraft Adapter volume to approximately 70% initially.
- Adjust the listening volume using the aircraft’s avionics volume controls.
- Operation with a flat battery. The WH-1000XM3 will continue to provide audio through its wired connection when the internal battery is depleted. However, Active Noise Reduction (ANR) will no longer function.
- Checking the battery level. Briefly press the power button to hear the remaining battery level announcement.
- Charging during flight. The WH-1000XM3 can be charged while connected to the Avee Kit. Active Noise Reduction (ANR) will be disabled during charging.
- Automatic power-off when removing the Avee adapter. The headphones will automatically switch off when the Avee headset adapter is disconnected. This is normal operation and does not indicate a fault.
- Perform a function check. Before flight, while the aircraft is stationary, verify audio in both ears, intercom reception and microphone operation.
Sony® WH-1000XM4 — quick setup guide
- Check the magnetic strip. Make sure the magnetic strip is installed correctly and securely attached to the headphones.
- Switch on the headphones. Press and hold the power button on the left earcup for approximately 2–3 seconds to switch on the headphones and activate Active Noise Reduction (ANR).
Note: The headphones can also be switched on after the Avee headset adapter has been connected. The blue Bluetooth indicator light turns off when the Avee adapter is connected.
- Attach the headset adapter. Align it with the headphone connector, insert fully and check that the adapter sits securely.
- Headset volume control. When the Avee headset adapter is connected, the headphone volume is automatically set to maximum, and the touch-sensitive volume controls on the right earcup are disabled. No additional volume adjustment on the headphones is necessary.
- Select Noise Cancelling mode. Press the NC/AMB button on the left earcup to switch between Noise Cancelling and Ambient Sound modes. Make sure Noise Cancelling is selected.
- Disable Speak-to-Chat. Turn off Speak-to-Chat in the Sony Sound Connect app before flight. This prevents the headphones from automatically changing audio playback when you speak.
- Set the Avee Aircraft Adapter volume to approximately 70% initially.
- Adjust the listening volume using the aircraft’s avionics volume controls.
- Operation with a flat battery. The WH-1000XM4 will continue to provide audio through its wired connection when the internal battery is depleted. However, Active Noise Reduction (ANR) will no longer function.
- Checking the battery level. Briefly press the power button to hear the remaining battery level announcement.
- Charging during flight. The WH-1000XM4 can be charged while connected to the Avee Kit. Active Noise Reduction (ANR) will be disabled during charging.
- Automatic power-off when removing the Avee adapter. The headphones will automatically switch off when the Avee headset adapter is disconnected. This is normal operation and does not indicate a fault.
- Perform a function check. Before flight, while the aircraft is stationary, verify audio in both ears, intercom reception and microphone operation.
Sony® WH-1000XM5 — quick setup guide
- Check the magnetic strip. Make sure the magnetic strip is installed correctly and securely attached to the headphones.
- Switch on the headphones. Press and hold the power button on the left earcup for approximately 2–3 seconds to switch on the headphones and activate Active Noise Reduction (ANR).
Note: The headphones can also be switched on after the Avee headset adapter has been connected. The blue Bluetooth indicator light turns off when the Avee adapter is connected.
- Attach the headset adapter. Align it with the headphone connector, insert fully and check that the adapter sits securely.
- Headset volume control. When the Avee headset adapter is connected, the headphone volume is automatically set to maximum, and the touch-sensitive volume controls on the right earcup are disabled. No additional volume adjustment on the headphones is necessary.
- Select Noise Cancelling mode. Press the NC/AMB button on the left earcup to switch between Noise Cancelling and Ambient Sound modes. Make sure Noise Cancelling is selected.
- Disable Speak-to-Chat. Turn off Speak-to-Chat in the Sony Sound Connect app before flight. This prevents the headphones from automatically changing audio playback when you speak.
- Set the Avee Aircraft Adapter volume to approximately 70% initially.
- Adjust the listening volume using the aircraft’s avionics volume controls.
- Operation with a flat battery. The WH-1000XM5 will continue to provide audio through its wired connection when the internal battery is depleted. However, Active Noise Reduction (ANR) will no longer function.
- Checking the battery level. Briefly press the power button to hear the remaining battery level announcement.
- Charging during flight. The WH-1000XM5 can be charged while connected to the Avee Kit. Active Noise Reduction (ANR) will be disabled during charging.
- Perform a function check. Before flight, while the aircraft is stationary, verify audio in both ears, intercom reception and microphone operation.
Sony® WH-1000XM6 — quick setup guide
- Check the magnetic strip. Make sure the magnetic strip is installed correctly and securely attached to the headphones.
- Switch on the headphones. Press and hold the power button on the left earcup for approximately 2–3 seconds to switch on the headphones and activate Active Noise Reduction (ANR).
Note: The headphones can also be switched on after the Avee headset adapter has been connected. The blue Bluetooth indicator light turns off when the Avee adapter is connected.
- Attach the headset adapter. Align it with the headphone connector, insert fully and check that the adapter sits securely.
- Headset volume control. When the Avee headset adapter is connected, the headphone volume is automatically set to maximum, and the touch-sensitive volume controls on the right earcup are disabled. No additional volume adjustment on the headphones is necessary.
- Select Noise Cancelling mode. Press the NC/AMB button on the left earcup to switch between Noise Cancelling and Ambient Sound modes. Make sure Noise Cancelling is selected.
- Disable Speak-to-Chat. Turn off Speak-to-Chat in the Sony Sound Connect app before flight. This prevents the headphones from automatically changing audio playback when you speak.
- Set the Avee Aircraft Adapter volume to approximately 70% initially.
- Adjust the listening volume using the aircraft’s avionics volume controls.
- Operation with a flat battery. The WH-1000XM6 will continue to provide audio through its wired connection when the internal battery is depleted. However, Active Noise Reduction (ANR) will no longer function.
- Checking the battery level. Briefly press the power button to hear the remaining battery level announcement.
- Charging during flight. The WH-1000XM6 can be charged while connected to the Avee Kit. Active Noise Reduction (ANR) remains operational during charging.
- Removing the Avee adapter. The WH-1000XM6 will remain switched on when the Avee headset adapter is disconnected. Switch off the headphones manually when they are no longer needed to conserve battery power.
- Perform a function check. Before flight, while the aircraft is stationary, verify audio in both ears, intercom reception and microphone operation.
Bluelink Documentation
Current and previous Bluelink user manuals and software updates.
Download the latest Bluelink User Manual using the link below.
Please note: Each user manual corresponds to a specific Bluelink software version. Make sure you are using the manual that matches the software installed on your Bluelink.
Previous User Manuals and Software Updates
Looking for an earlier user manual or a different software version?
Visit our Bluelink Software Update page to download previous user manuals and update your Bluelink to the latest available software version.
Legacy Product Manuals
Original PDF documentation for previous Avee products.
Download manuals for earlier Avee products below.
Legacy manuals will appear here as soon as PDF files are uploaded.
Need help with a problem?
For troubleshooting, frequently asked questions, contact details and warranty enquiries, visit Help & Support.
